Ready to Record? Let’s go!
Step 1. Find your Guide Track! This will be sent to you by your director.
a. Practice, practice, practice! It’s OK to learn your notes without working with the guide quite yet. Or maybe it’ll help you learn!
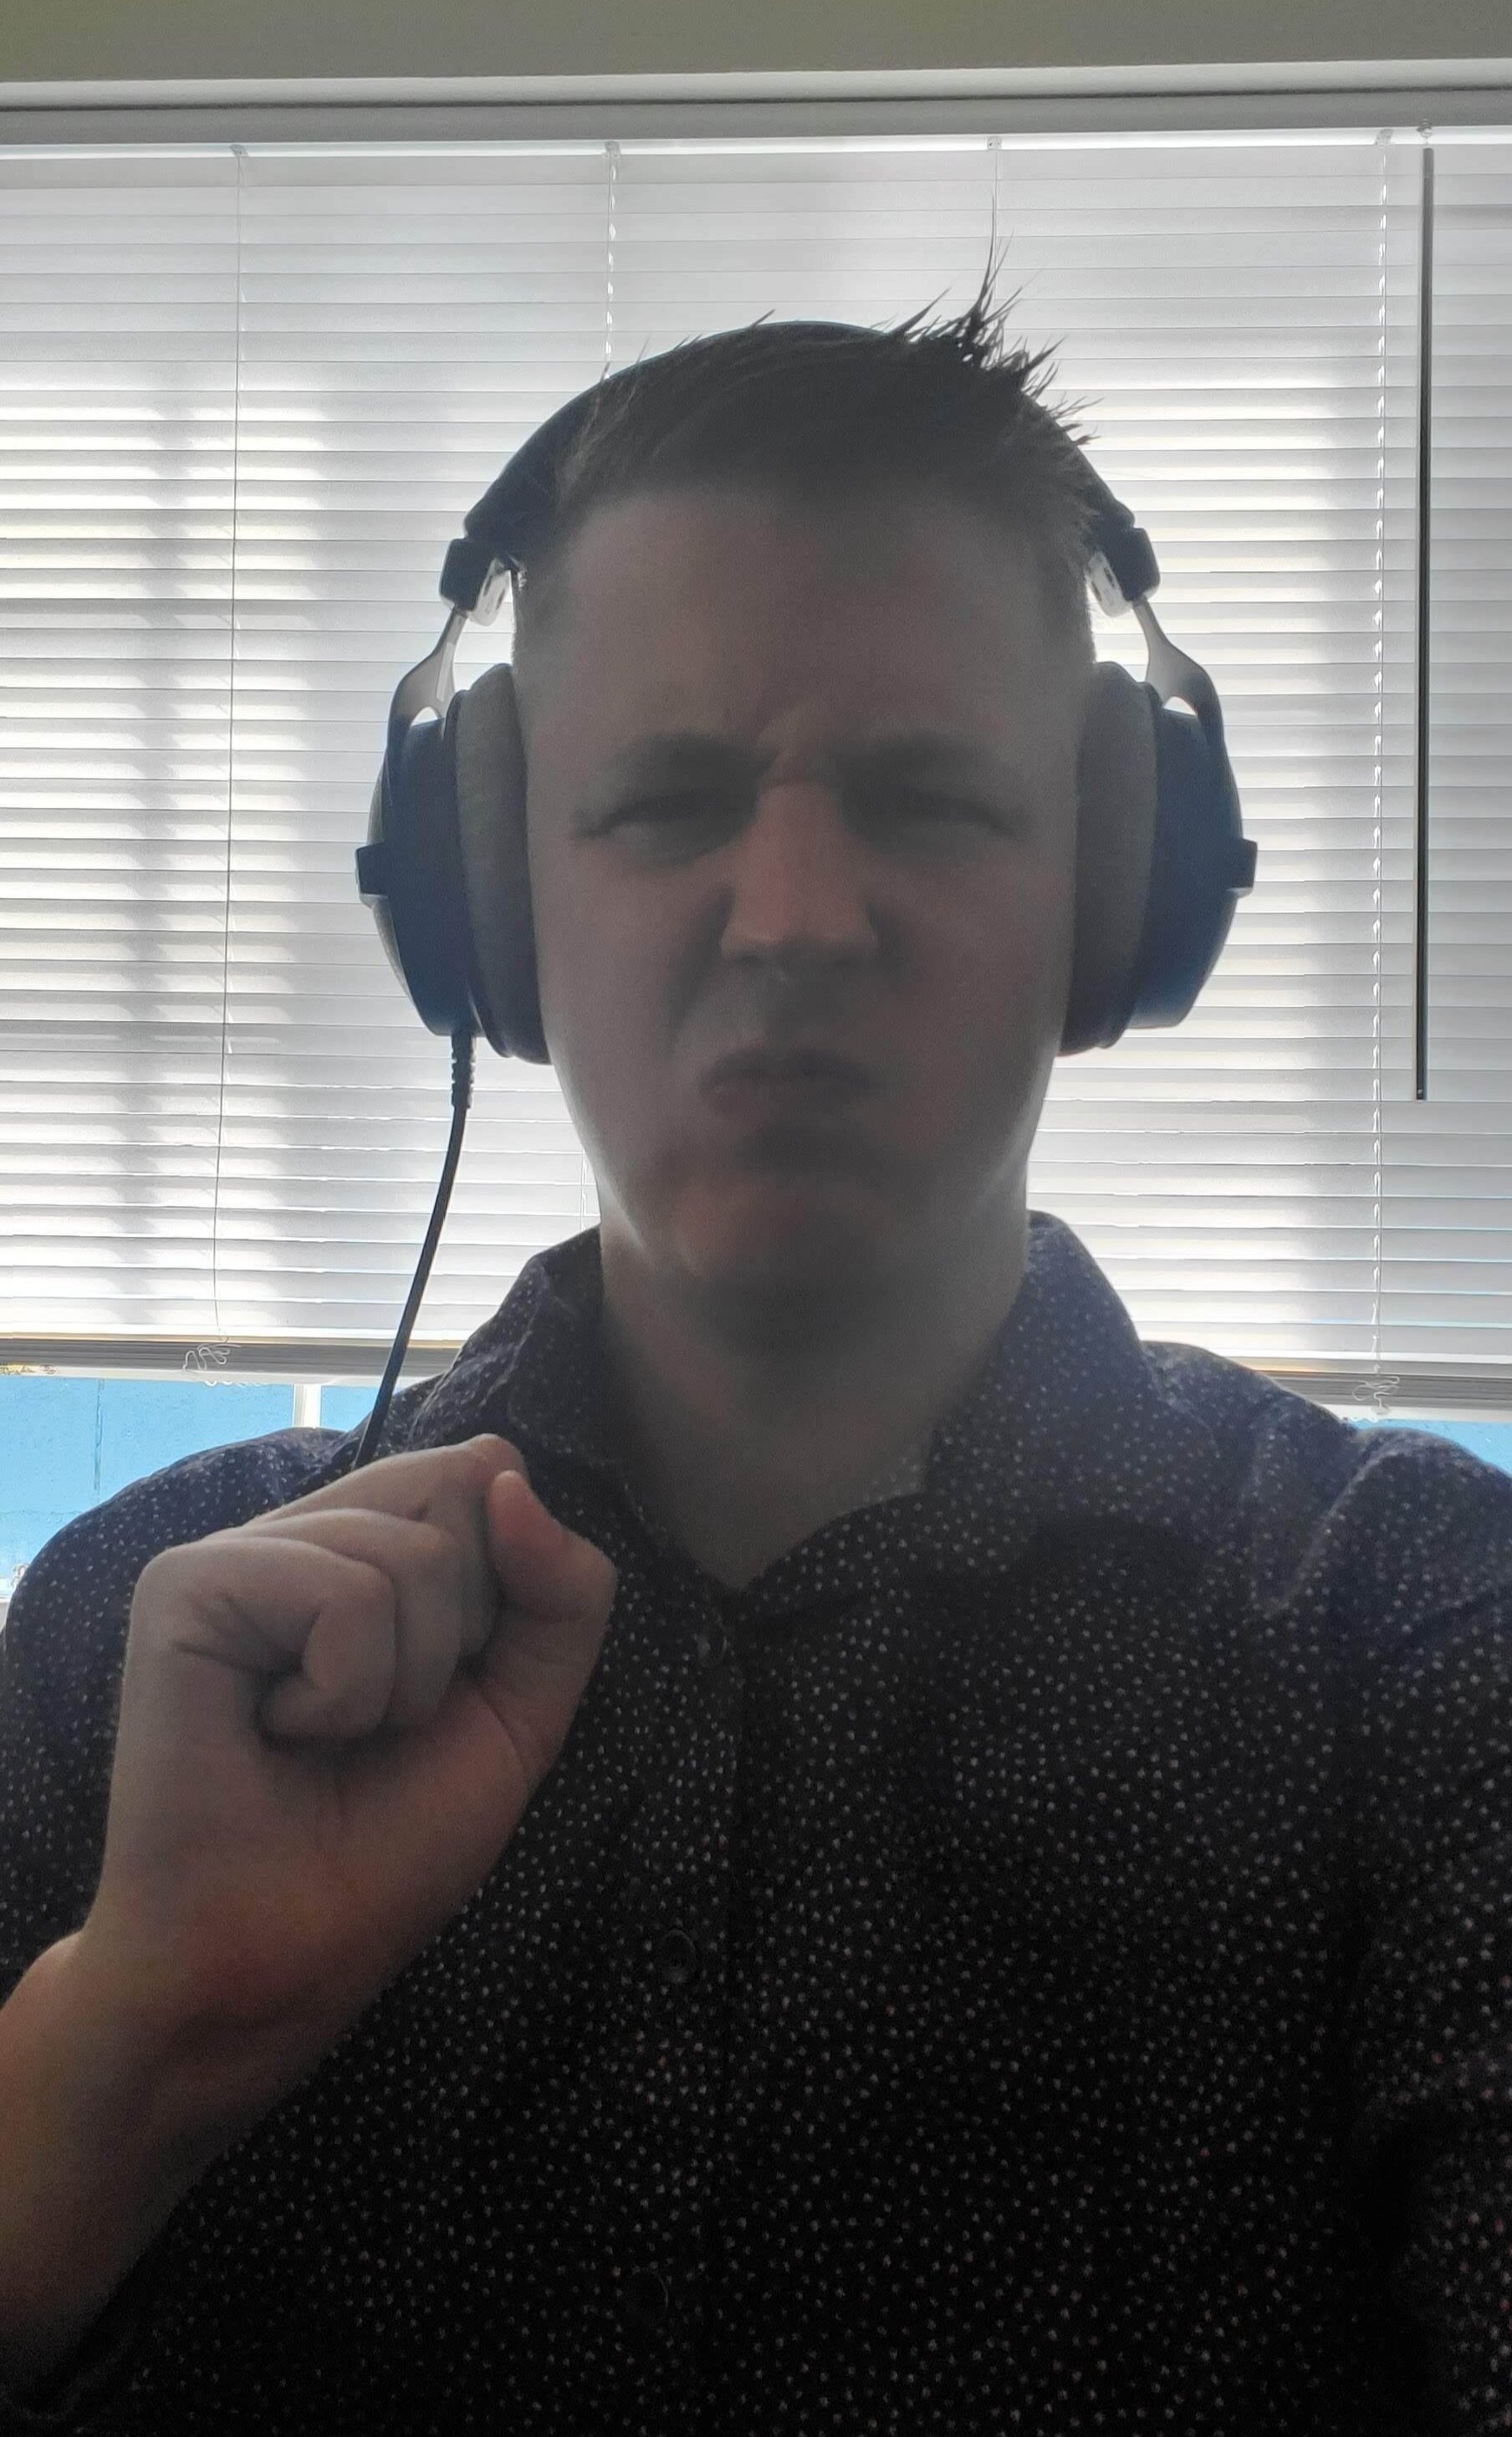
b. When you know your part, put on headphones or use earbuds and start to sing/play along with the Guide Video.
c. Do some test recording. It’s always good to record yourself practicing and then play it back to hear how you sound.
d. Feeling good? Let’s get ready to record….!

Step 2. Find your light and frame yourself!

Hey Singers!
Make sure your camera isn’t too close. Capture space above your head as well as all the way down to your stomach.
Don’t record too close!
And don’t record with a bright window or light behind you. You should be the star!

Violins and Violas:
Frame yourself and your whole instrument.

Cellos and Basses:
Frame yourself and most of your instrument.
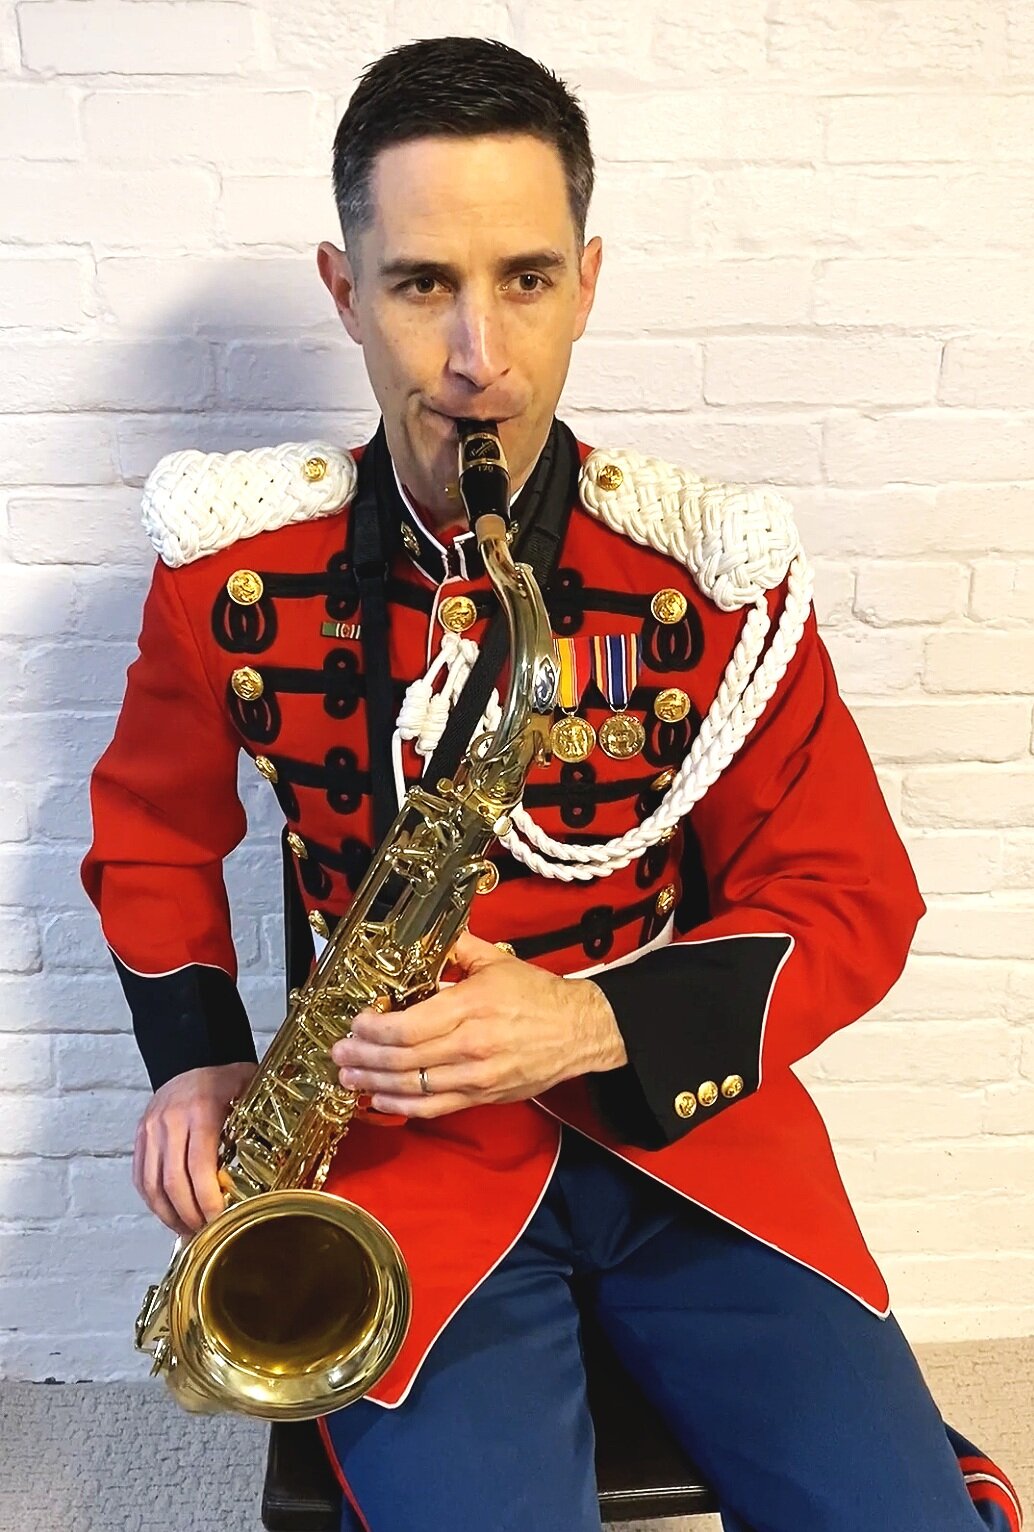
Winds and Brass:
Get yourself and the instrument in frame.
a. You can film with: a cell phone, a webcam, a tablet, a desktop, a laptop, a digital camera, a video camera. …Anything you have that you’ll be able to upload to a computer is OK. Ask a family member for help, if needed.
b. Make sure you look good! Can we see your face? Your smile? Your instrument? Turn on a light behind the camera so your face is well lit. Make sure your background looks good. Clean up if you need to.
d. Is the room still quiet? Turn off any fans or anything else that makes noise.

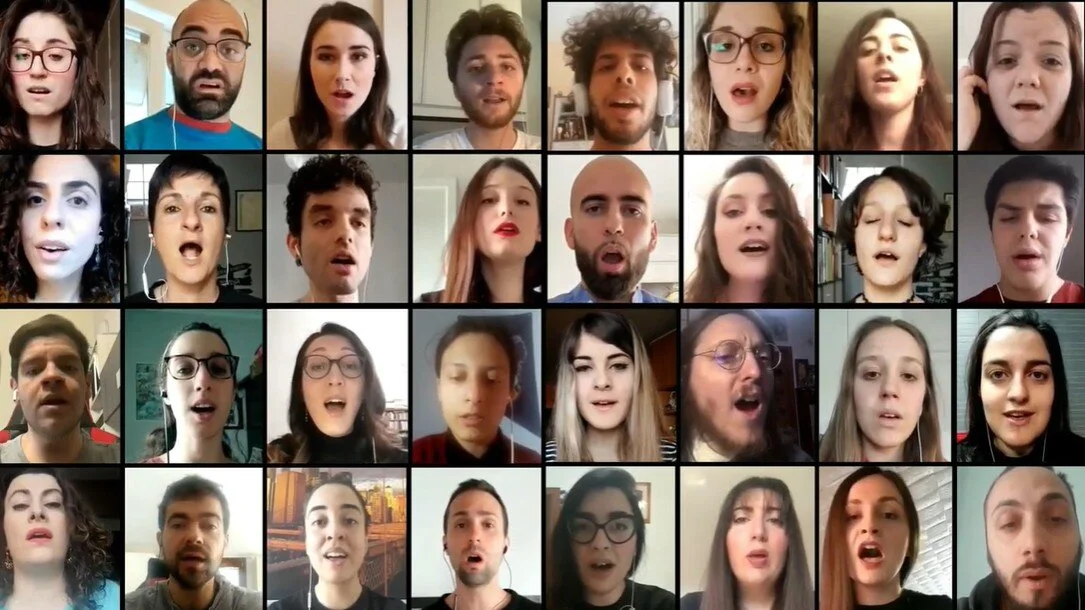
Do I record vertical or horizontal?
Both are good! Just make sure that your camera is far enough away that we can see you and your instrument. Take a look at the pictures for some examples. Everyone will be excited to see your play, and they want to see your face, your instrument, your bowings, fingers, scroll, and keys. And if you leave a little room around you in the video frame, the video editors can make sure you fit perfectly in your spot on the video. Good luck!

Step 3. Time to Record!
This will be different for each person. Don’t be afraid to experiment to see what works for you. Remember: use headphones or earbuds so only YOU hear the Guide Video. When you get to the end, stay in performance mode for another 5-10 seconds so we can do a nice fade out on your video.
Option 1 - ONE DEVICE
Most smartphones can play YouTube and record at the same time! Open the Guide Video on YouTube and open your Camera app too. Try a test recording while the video is playing. Many laptops and tablets can do this as well. (Windows 10: type in “camera” into the computer search bar.)
Option 2 - TWO DEVICES
If you can’t play the video and record at the same time, have no fear. You’ll just need one device that can Record. And another device that can Play. Hit play on the Guide Video on one device, and hit record on the other device.
It’s OK to record multiple takes (just like a recording studio), so you are happy with your performance. Only upload one video.
Step 4. Upload your video!
Arts Laureate will collect your submissions via our Dropbox upload link. Dropbox can appear differently depending on whether you are logged in, or if you are accessing from a desktop or mobile app, so your specific submission naming may be slightly different than below. The most important thing is that we know your VOICE/INSTRUMENT PART and your FULL NAME - so be sure to include both in your submission.
If possible, rename your file as “VOICE/INSTRUMENT PART_YOUR FULL NAME_PIECE NAME”.
Click on the file request link provided by your teacher or director. If possible, use a private/incognito browser tab (Dropbox will not allow you to alter your info if you are already signed in).
Click “Add Files”. Select your video. Depending on how you access the Dropbox link, you will either:
Enter your VOICE/INSTRUMENT PART in the First Name field, and your FULL NAME in the Last Name field, or
Enter VOICE/INSTRUMENT PART_FULL NAME in the name field, and your email in the email field.
Click upload. That’s it!

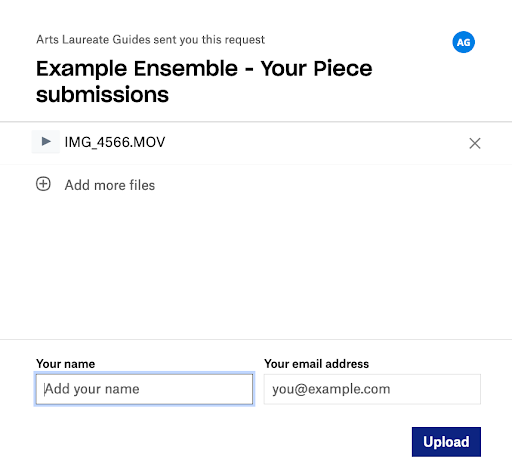
Dropbox Desktop View

Dropbox Mobile View
Now: CELEBRATE!
(And let your teacher know you uploaded your file.)
Next, your video will be mixed, mastered, synced, and edited together with the rest of the ensemble. Stay tuned!